Global buyers often find themselves facing a pretty tough question: can a machine vision system really spot defects reliably across different factories, suppliers, and production scales? Machine Vision Quality Inspection provides a practical answer, but only if buyers take the time to look at the entire inspection process closely.
Robert J. Shillman, the guy who founded Cognex, once called machine vision “the eyes of the factory,” and honestly, that’s a pretty fitting analogy. Cameras can check surfaces, dimensions, labels, and how things are assembled—without ever getting tired. But here’s the thing: just having a clear picture doesn’t automatically mean you’ll get perfect decisions. Things like lighting, lens choices, software tweaks, product variations, and even how well operators are trained all play a role in the final results.
In this guide, I’m sharing ten tips for quality inspection that matter for global buyers. We’re focusing on real, measurable details—stuff like defect size, how fast inspections need to be, false rejections, traceability, and whether the system stays stable over time. For example, a scratched metal edge might look fine under seemingly good lighting, but that’s not always the case. Or a printed code can look totally readable to us, but dust on the lens might make it unreadable once the system runs. Little gaps or imperfections might seem minor but can end up costing a ton in the long run.
Of course, no checklist is perfect—production lines are always changing, after all. That’s why it’s smart to request sample testing using actual products, not just perfect samples. Compare results across different shifts and suppliers too. And be cautious about claims that sound a bit too optimistic without solid data backing them up. The key to a trustworthy Machine Vision Quality Inspection system is having performance documented clearly, hardware that’s easy to maintain, and solid technical support from companies like Cognex, Keyence, or Omron.
Bottom line? The best purchase isn’t always the fanciest or most advanced system. It’s the one that gives you consistent, reliable evidence, manageable costs, and meaningful results right on the factory floor.

Global buyers need clear product requirements before selecting an inspection system. Machine Vision Quality Control works best when quality expectations become measurable rules. Define dimensions, surface defects, color limits, and acceptable variation. A scratch measuring 0.3 millimeters may fail one market but pass another. Record these differences in one controlled specification.
Tip: Build a visual defect library. Include approved samples, rejected samples, lighting conditions, and measurement data. Photos alone can mislead, especially with reflective metal or textured surfaces. Specify camera angles, lens distance, resolution, and inspection speed. Also identify which global quality standards apply to the product and destination market. A supplier should confirm these requirements before testing equipment.
Tip: Run a small pilot with real production pieces. Test clean parts, damaged parts, dark batches, and borderline examples. Review false rejects with operators and quality engineers. No system is perfect. Dust, vibration, and changing light can affect results. This is where experience matters. One overlooked defect type can weaken an otherwise impressive inspection plan. Leave room for human review when images remain uncertain. Keep revision records, test results, and approval dates accessible to every authorized buyer.
Choosing the right machine vision system starts with the inspection task, not the camera specification. A surface scratch, missing component, and incorrect label require different imaging methods. Define the defect size, material finish, production speed, and acceptable error rate before requesting quotations.
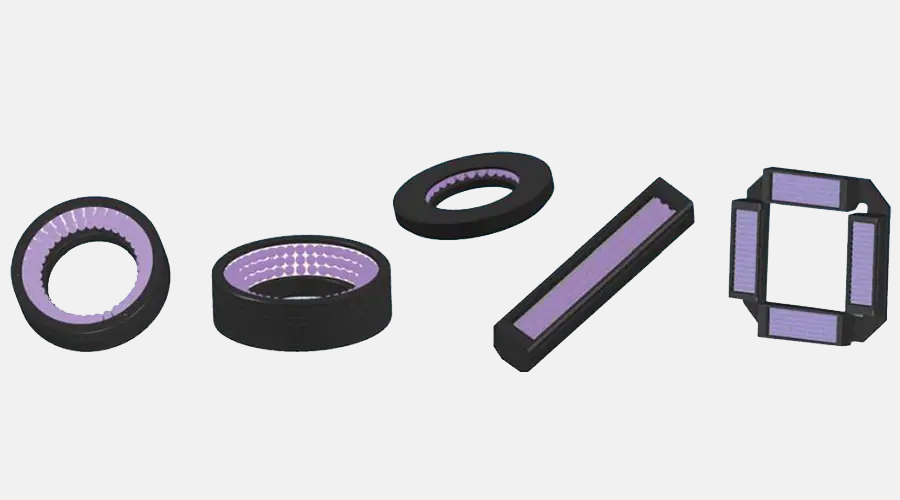
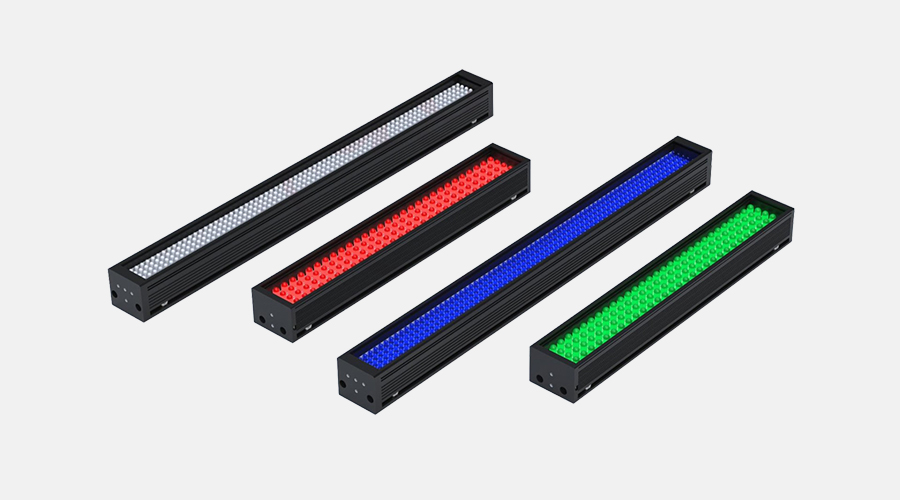
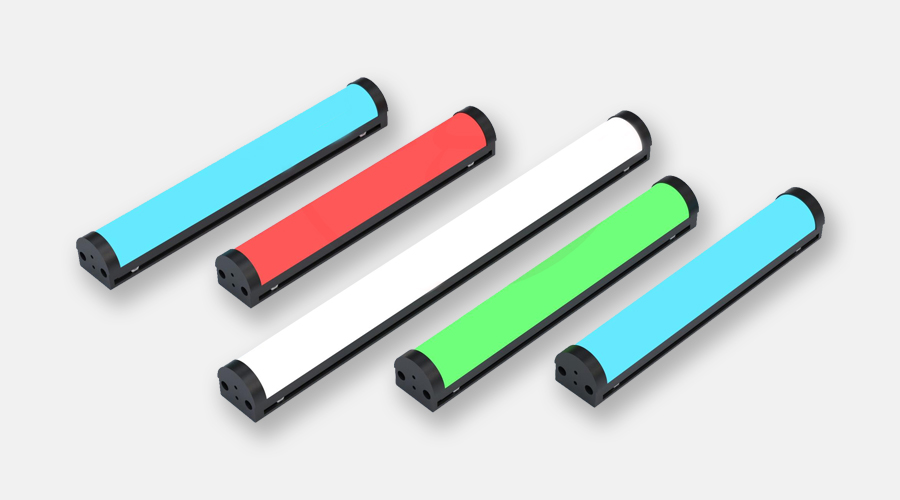
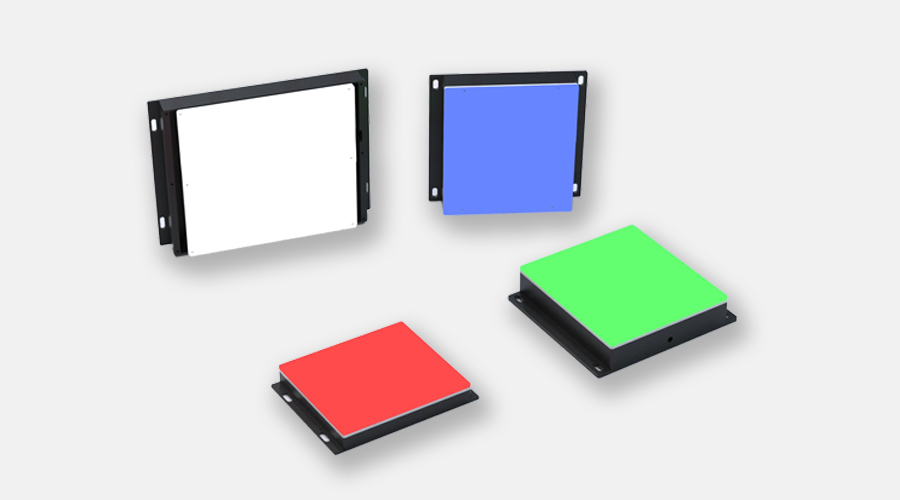
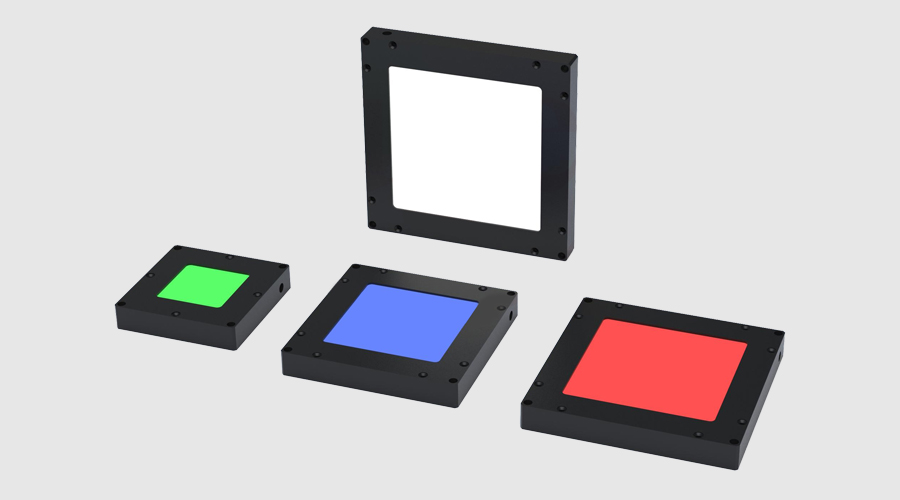
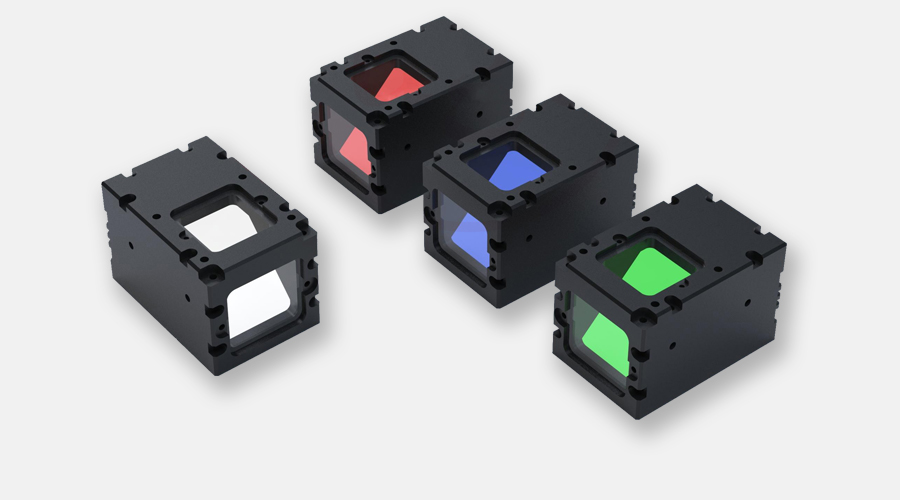
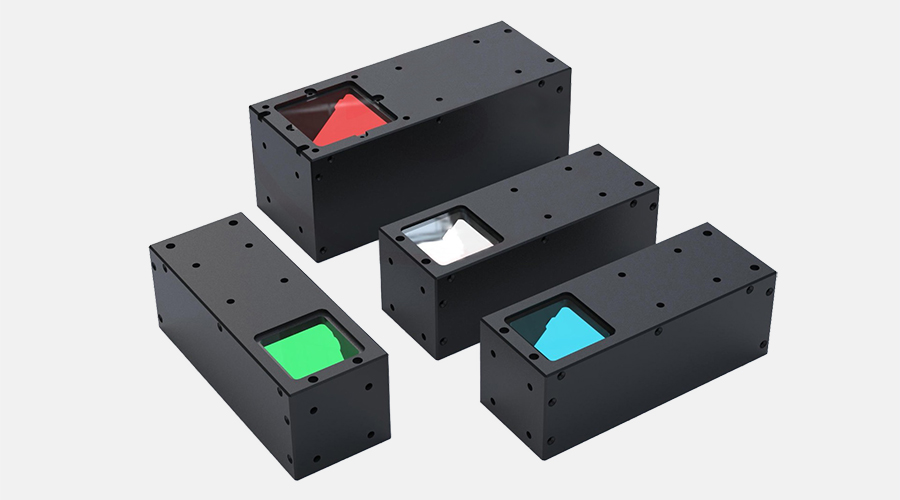
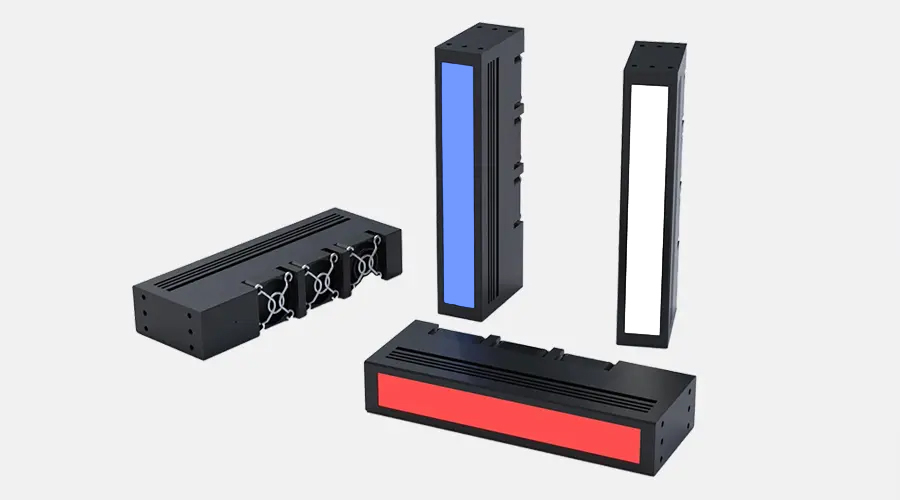
Lighting often matters more than resolution. A ring light may reveal edges, while low-angle lighting can expose dents on a metal panel. Transparent packaging may need backlighting to show gaps clearly. Small details matter. Test samples under real factory conditions, including dust, vibration, glare, and changing ambient light. A clean laboratory image can create false confidence.
Machine Vision Inspection should also match the line’s working distance and response time. Check whether the system can trigger reliably, process images quickly, and communicate with existing equipment. Ask for measured results using your own samples, not only standard demonstrations. Request repeat tests with good and defective parts mixed randomly. Record false rejects, missed defects, and inspection speed.
Operators need practical controls. Complex software can slow production during a shift change. Clear image records also support quality audits and supplier discussions. Still, no system is perfect. Some defects remain subjective, especially when textures vary naturally. Review borderline images with experienced inspectors, then adjust the acceptance criteria carefully. A useful system improves decisions without hiding uncertainty.
Use this practical planning model to compare system priorities by inspection task. Percentages indicate the relative importance of each factor and should be validated with real samples, production speed, lighting conditions, and required tolerances.
Higher scores indicate factors that normally require greater attention when selecting a machine vision system. Dimensional inspection depends strongly on calibration and lens accuracy, while OCR and surface inspection depend more on image quality and lighting control.
Optimize Lighting, Cameras, Lenses, and Image Acquisition
Diffused lighting reduces glare on polished metal and reveals shallow scratches on molded parts. Keep the light angle fixed, then test surfaces at different production speeds. I have seen expensive cameras fail because changing daylight entered an open inspection area.
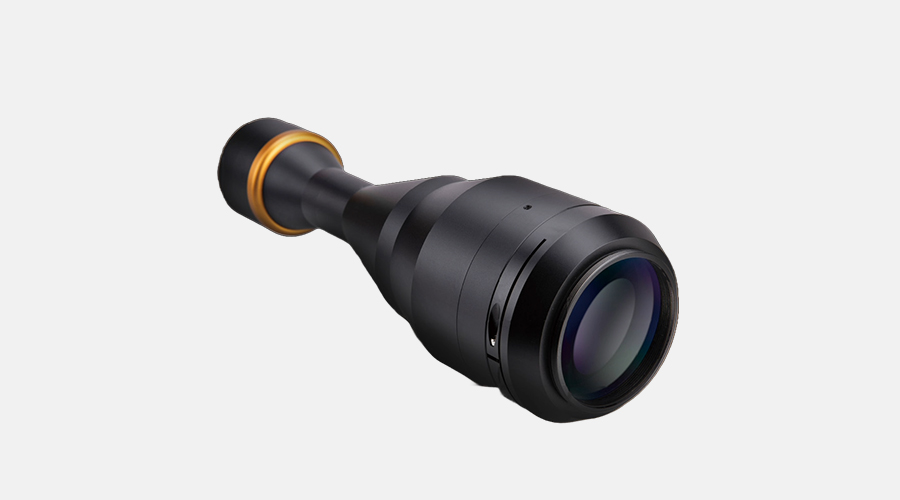
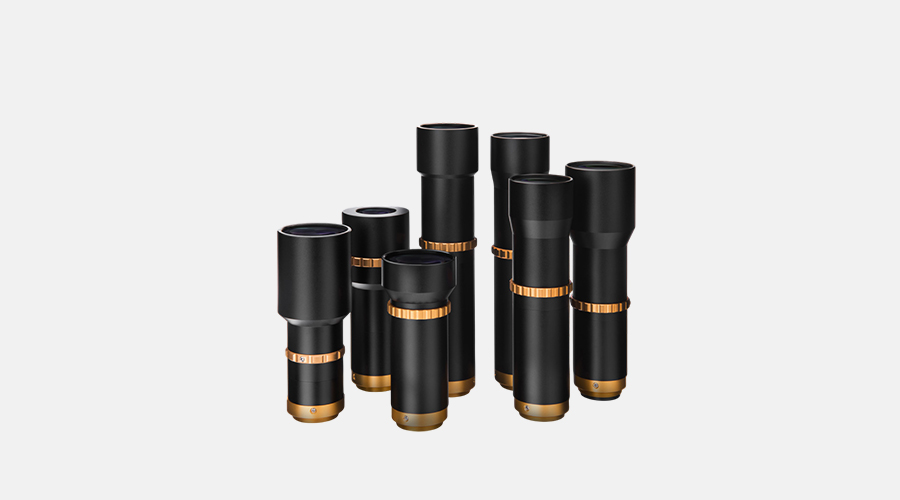
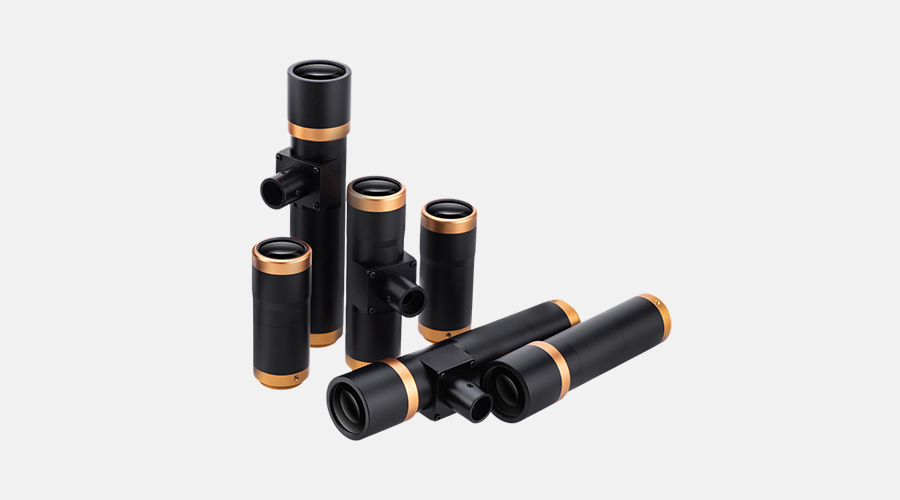
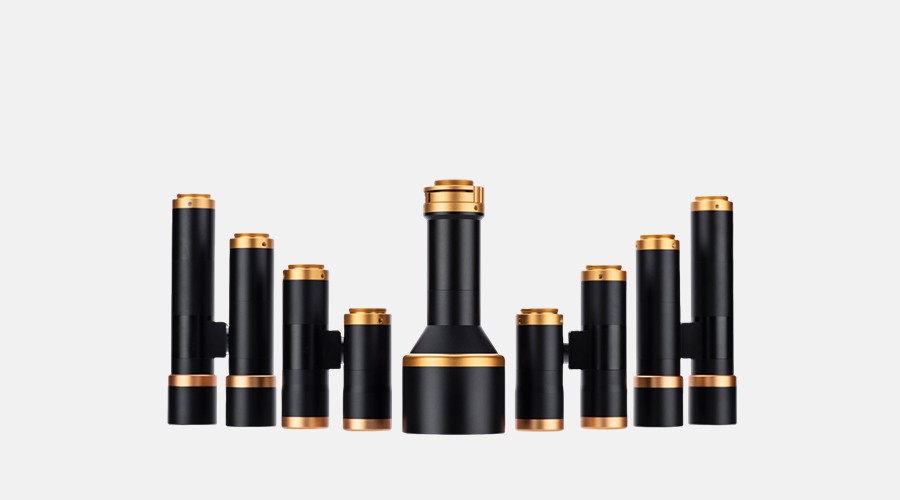
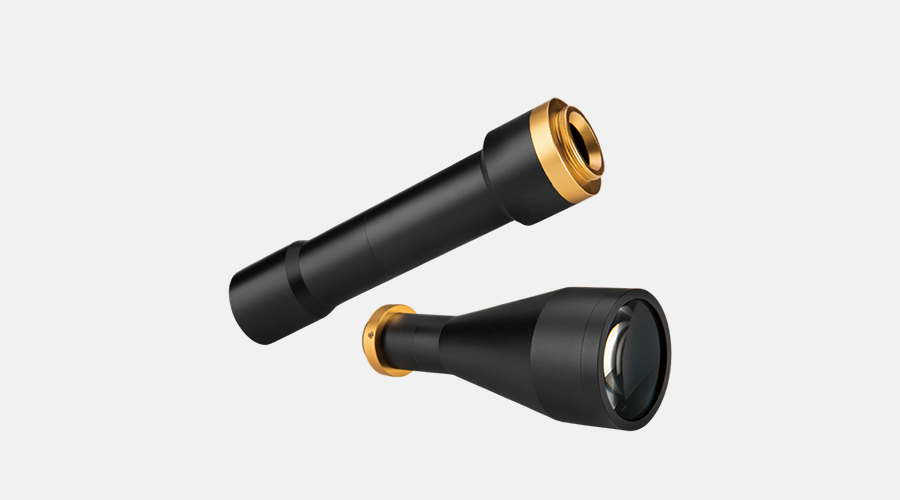
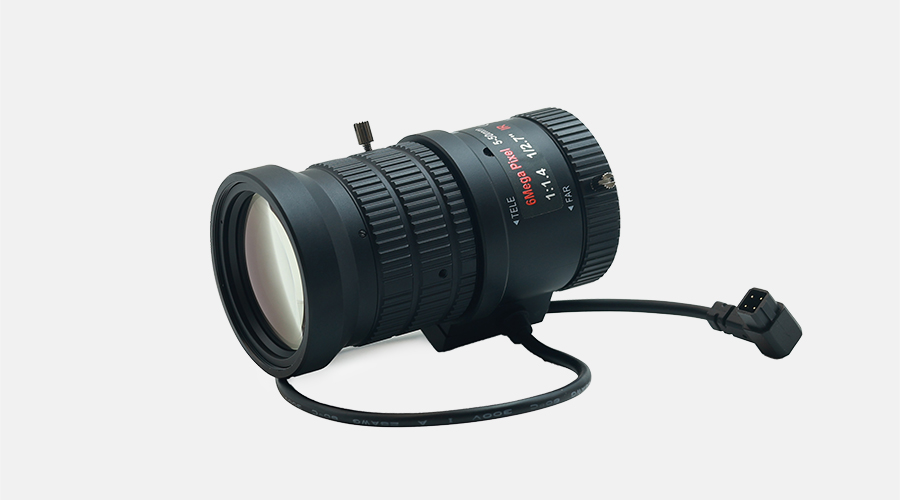
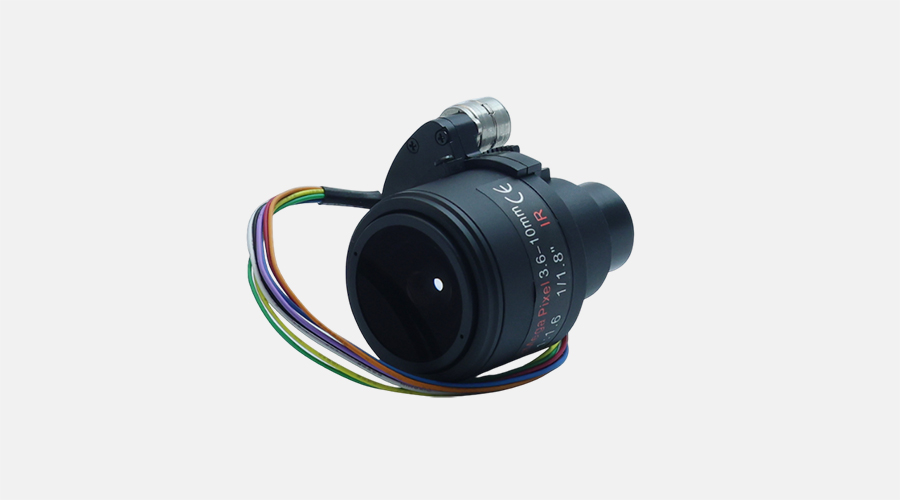
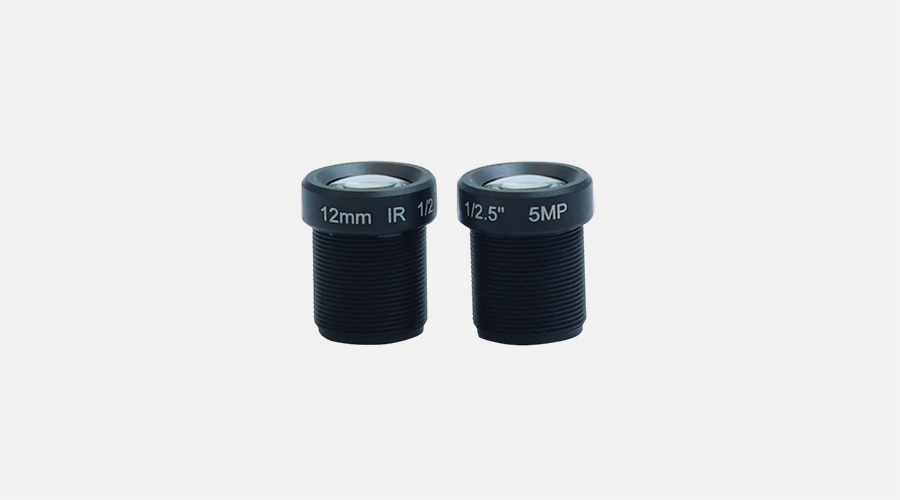
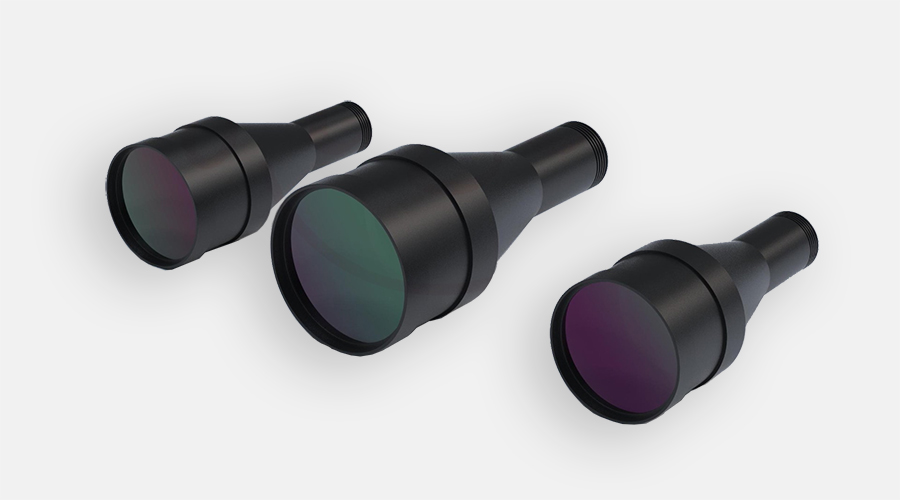
A useful image should show several pixels across that defect, not merely detect its outline. Select lenses with suitable working distance and field of view. Wide lenses may cover more parts, but they can introduce edge distortion. That trade-off is easy to overlook.
Use consistent triggering, exposure, and camera mounting. Motion blur often comes from timing errors, not poor optics. Record sample images during startup, normal operation, and line changes. These records help buyers compare suppliers with evidence rather than attractive demonstrations.
Transparent plastic, dark rubber, and reflective steel need different lighting geometry. Polarization can reduce reflections, but it may also hide useful texture. Test both conditions. Do not trust one perfect sample.
Define defect size, contrast, inspection speed, and allowable false rejects. Ask for repeatability data across shifts and operators. A system that performs well for one afternoon still needs longer validation. Calibration records, image archives, and clear maintenance procedures strengthen confidence for global purchasing teams.
Global buyers need inspection rules that operators can understand and machines can repeat.
Define every defect with a visible description, location, and severity level. “Surface damage” is too vague. Specify a scratch longer than 2 millimeters, a dent deeper than 0.3 millimeters, or missing material at a defined edge. Add approved and rejected sample images beside the work instruction. Small details prevent large disputes.
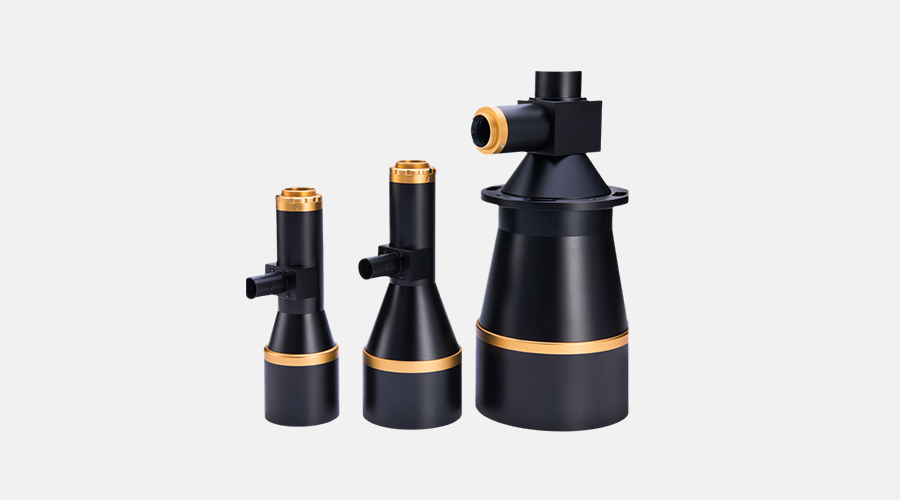
Dimensional measurement requires the same discipline. State the nominal value, tolerance, datum, unit, and measurement method. Confirm whether the drawing uses millimeters or inches. A 0.05 difference can change an acceptance decision. For curved parts or height variation, 3d Vision Inspection can capture depth that a flat image may miss. Calibrate with a traceable reference object, then check calibration at a planned interval. Record lighting, lens position, and software settings. These details make results easier to audit.
Test the rules with normal parts, clear defects, and borderline cases. Borderline cases matter most. We once treated a faint mark as acceptable, then found customers viewed it differently under stronger light. That exposed a weak rule. Revise it. Keep version numbers and approval records for each inspection standard. Human review is still useful when reflections, transparent surfaces, or unusual textures confuse the system. Automation improves consistency, but it does not remove responsibility.
Global buyers should test machine vision accuracy beyond a quiet laboratory.
The International Federation of Robotics reported 541,302 industrial robots installed worldwide in 2023. That scale increases demand for stable inspection, not impressive demonstrations. Run the same test across product colors, surface finishes, sizes, and defect types. Record true positives, missed defects, false rejects, and inspection time. A 99% accuracy claim means little without the sample size and defect distribution.
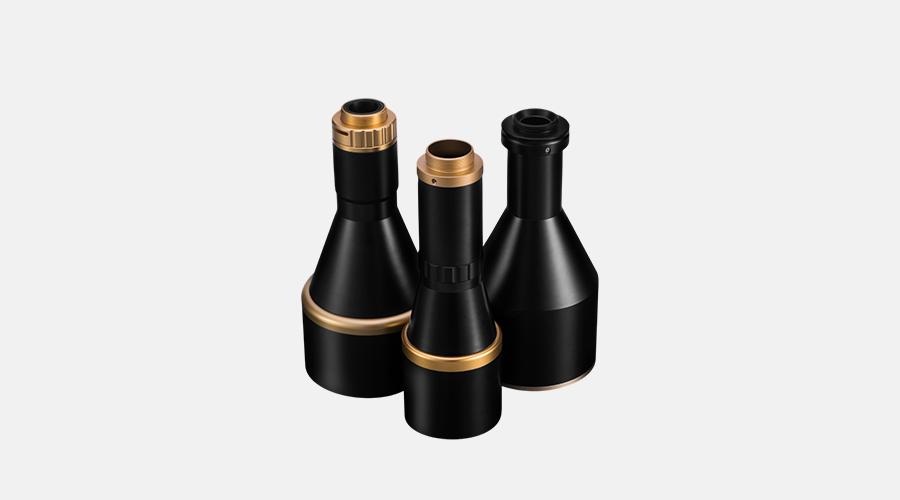
Change conveyor speed deliberately. Test slow, normal, and peak rates. Then introduce vibration, dust, glare, temperature shifts, and uneven lighting. A Vision Inspection Lens must preserve image detail at every working distance. ISO 5725 separates repeatability from reproducibility, so operators, shifts, and production lines should be compared. ASQ quality-cost guidance commonly places poor quality at 15–20% of sales, making hidden false rejects financially serious. Keep traceable images for each decision. They support audits and root-cause reviews.
Small samples can deceive.
In one practical pilot, a system passed bright aluminum parts but struggled with dark coated surfaces. The issue was not only software; lens choice and exposure timing changed the result. Buyers should repeat trials after maintenance, recipe changes, and product switching. Report confidence intervals where possible, rather than presenting one attractive percentage. No test plan is perfect. That weakness should be documented, challenged, and improved before acceptance.
Integrating inspection data with production and traceability systems turns images into useful evidence. Each result should include a timestamp, product code, lot number, camera ID, and defect classification. Store the original image with the inspection record. This helps engineers verify decisions during customer audits or repeated defects. In my experience, missing timestamps create more confusion than poor images.
Tip 1: Define shared data fields before installation. Production systems need clear pass, fail, rework, and quarantine signals. Traceability records should connect these signals to materials, operators, equipment, and process settings.
Tip 2: Use consistent defect codes. “Scratch,” “dent,” and “contamination” should not mean different things across shifts.
Keep data transfer reliable. Test network delays, duplicate records, and power recovery during factory trials. A rejected part should trigger the correct production action, not merely appear on a dashboard. Use access controls and change logs for inspection rules. These controls support accountability and protect data integrity.
Tip 3: Validate the complete chain, from image capture to final traceability record.
Tip 4: Review false rejects weekly. They may reveal lighting changes, fixture wear, or overly strict thresholds.
The system is not perfect. I have seen teams trust a high accuracy percentage while ignoring several recurring errors on one production shift. Regular sampling and human review remain necessary, especially after product or process changes.
Evaluate Compliance, Supplier Support, Scalability, and Total Cost
A machine vision system must match the product, process, and destination market.
Ask suppliers for measurable results, not attractive demonstrations. Request sample images from clean, scratched, dark, and poorly aligned parts.
Confirm detection rates, false rejects, cycle time, and image storage controls. Check whether the system supports required quality records and local documentation.
Compliance is more than a certificate.
Supplier support deserves practical testing. Ask who responds when a camera fails during a night shift.
Review training plans, spare-part availability, remote assistance, and escalation times. Request a written service agreement with clear responsibilities.
Speak with two existing users if possible. Their feedback may reveal delays hidden during sales meetings.
Small details matter.
Scalability should be tested before expansion. Can the software manage more cameras, product models, and production lines?
Check recipe changes, network capacity, user permissions, and data export functions. A pilot on one line can expose lighting problems early.
Do not calculate cost from equipment price alone. Include integration, validation, operator training, maintenance, energy use, rejected products, and future upgrades.
Cheap systems can become expensive after repeated manual checks.
Still, no inspection system is perfect. Dust, vibration, reflective surfaces, and rushed operators can reduce accuracy.
Record these weaknesses honestly, then define acceptable limits before signing a purchase contract.
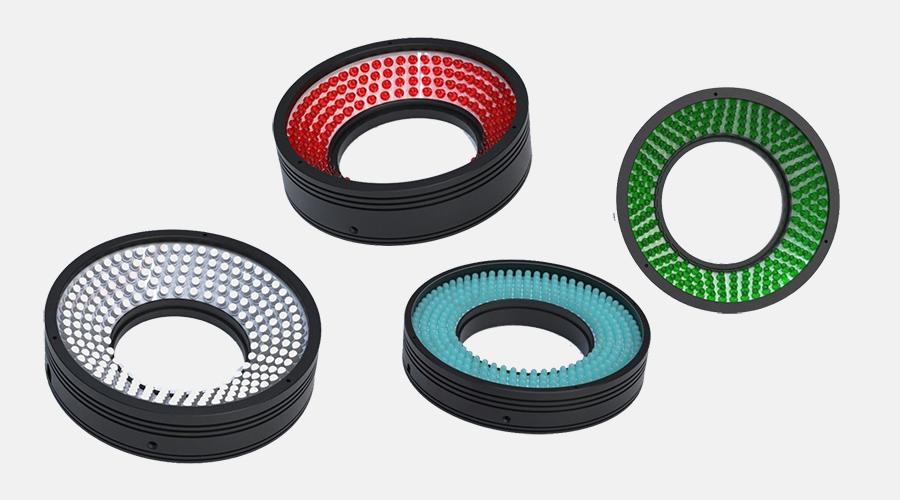
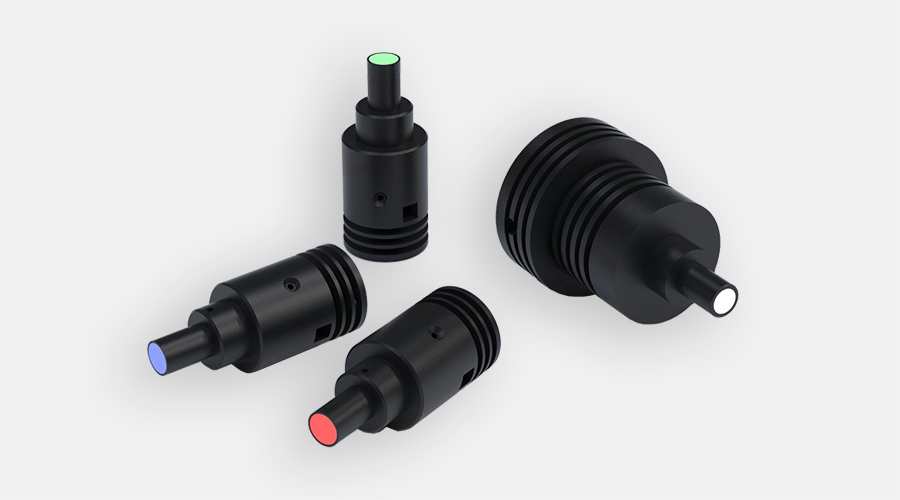
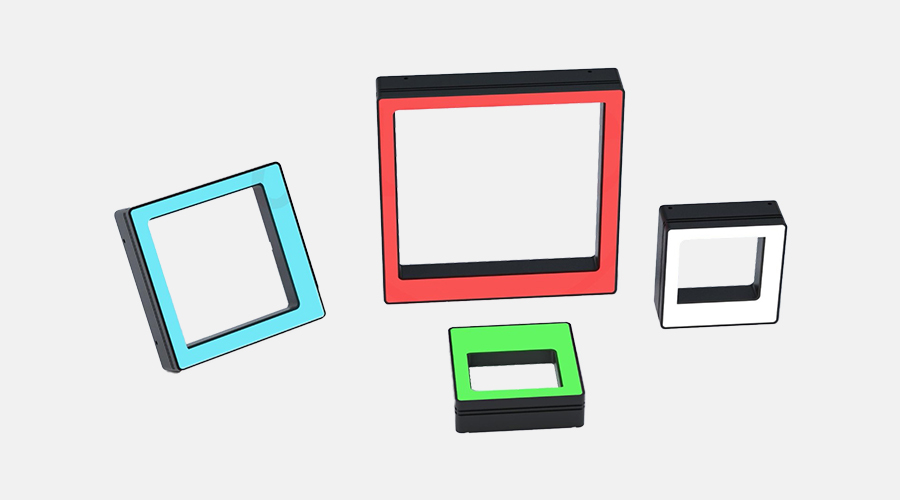
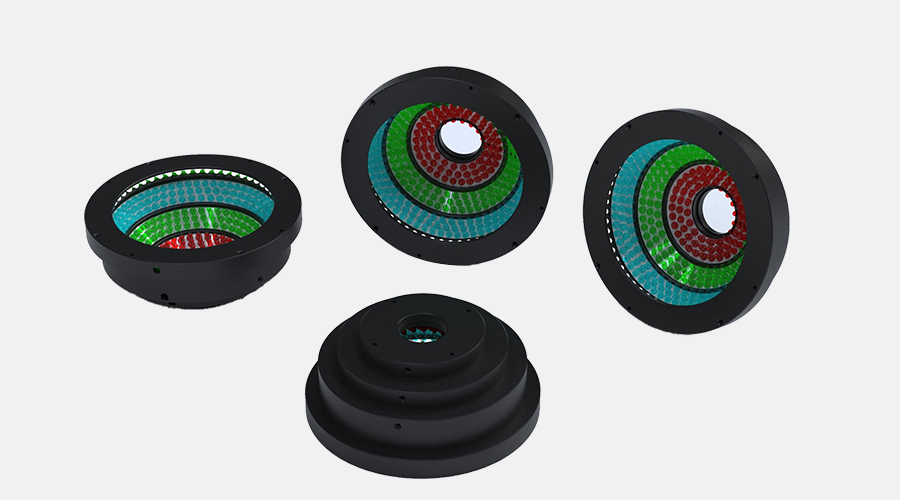
High-power LED ring lights are designed for long-distance, large-area machine vision inspection where ordinary illumination may not provide enough brightness or coverage. Built with a high-brightness, high-density array of large LED particles, these lights deliver strong and consistent illumination across the inspection field. Their ring-shaped structure helps surround the camera’s viewing axis, reducing uneven shadows and improving the visibility of edges, surfaces, and fine structural details.
A condenser lens focuses the emitted light toward the center, allowing the illumination to reach distant targets with greater intensity. This optical design supports inspection tasks involving large components, elevated working distances, and wide fields of view while maintaining clear image contrast. Various dimensions are available to accommodate different camera systems, target sizes, and installation spaces.
The adjustable combination of light intensity, working distance, and ring diameter makes this lighting solution suitable for automated inspection lines, dimensional measurement, surface checking, and recognition of subtle defects. Uniform high-power output can help stabilize image acquisition when reflective, dark, or uneven materials are being inspected, while the compact ring configuration integrates easily around industrial cameras and lenses.
Start with the defect, not the camera. Define defect size, material finish, line speed, and acceptable error rate.
Lighting can reveal defects better than higher resolution. Ring lighting shows edges, while low-angle lighting exposes dents on metal surfaces.
Use your own good and defective samples. Test dust, vibration, glare, changing light, and random part order.
Record detection rate, false rejects, missed defects, processing speed, and image storage quality. A clean demonstration proves very little.
Each result should include a timestamp, product code, lot number, camera ID, and defect classification.
The result should trigger the correct pass, rework, quarantine, or production action. A dashboard alone is not enough.
Controls should be clear during shift changes. Store readable images for audits and supplier discussions.
Ask about night-shift response, training, spare parts, remote help, and escalation times. Speak with existing users if possible.
Include integration, validation, training, maintenance, energy, rejected products, and future upgrades. The purchase price is only one piece.
No. Dust, glare, vibration, natural texture changes, and rushed operators can reduce accuracy. Review borderline images with experienced inspectors.
For global buyers, effective Machine Vision Quality Inspection begins with clearly defined product requirements, acceptance criteria, and applicable quality standards. Each inspection task should be matched with the appropriate vision system, while lighting, cameras, lenses, and image acquisition settings are carefully optimized for stable and accurate results. Clear rules are also essential for distinguishing acceptable variation from genuine defects and for performing reliable dimensional measurements.
Before deployment, the system should be tested across different product models, production speeds, materials, and operating conditions. Inspection results should connect smoothly with production records, traceability tools, and quality management processes so that issues can be identified and addressed quickly. Buyers should also evaluate regulatory compliance, supplier technical support, future scalability, maintenance needs, training, and total cost of ownership. A well-planned solution can improve consistency, reduce manual errors, strengthen process visibility, and support dependable quality control across international manufacturing operations.